
This lesson is made with PSPX9
But is good with other versions.
© by SvC-Design

Materialen Download :
Here
******************************************************************
Materials:
NarahsMasks_1727.jpg
DECO PERSO 1 193 JANVIER 2023 SWEETY.png
DECO PERSO 2 193 JANVIER 2023 SWEETY.png
SIGNATURE TUTORIELS .pspimage
PALETTE COULEURS 1 193.png
GLASS 193 SWEETY .f1s
SELECTION 1 193 .PspSelection
SELECTION 2 193 .PspSelection
SELECTION 3 193 .PspSelection
SELECTION 4 193 .PspSelection
SELECTION 5 193 .PspSelection
SELECTION 6 193 .PspSelection
SELECTION 7 193 .PspSelection
SELECTION 8 193 .PspSelection
SELECTION 9 193 .PspSelection
AVRIL 2022 BOUGIES FLEURS BIS 07 04 22 SWEETY.png
e9d34eabbaaaa6bc17871e723e0b3a13.jpg
MARS 2023 KATE 23 03 23 SWEETY.png
******************************************************************
Plugin:
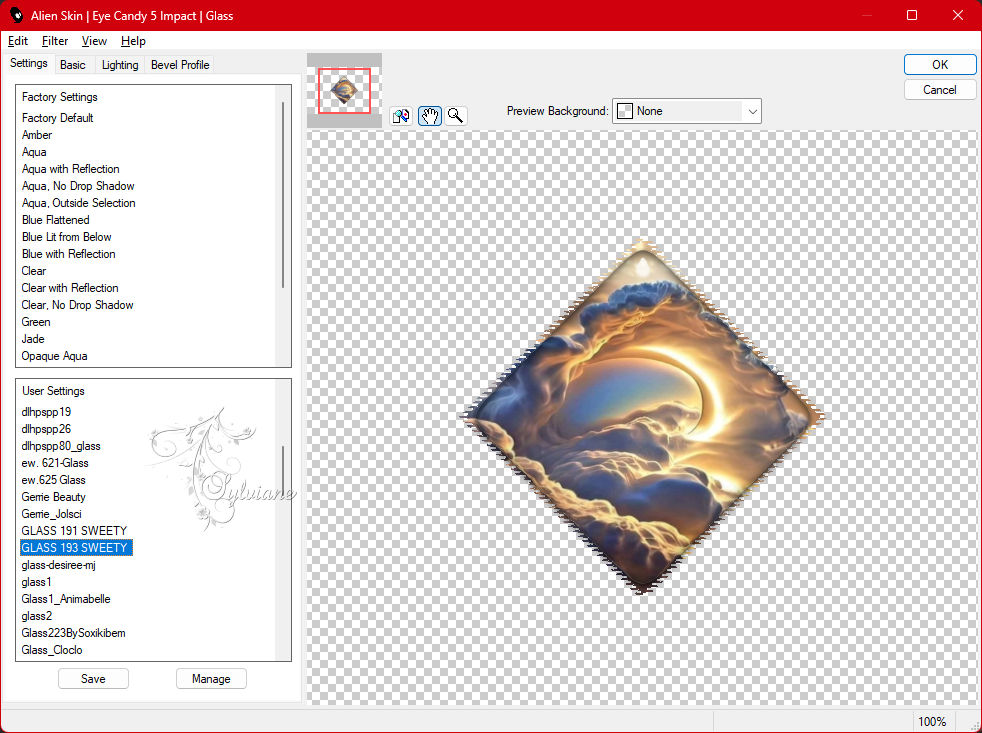
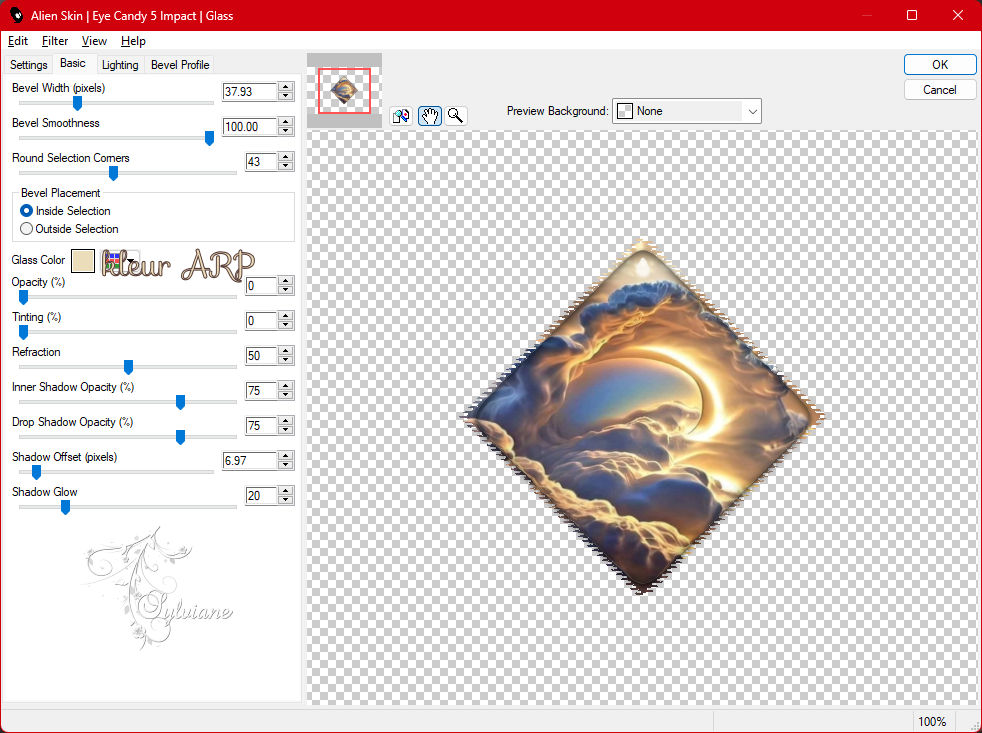
Plugin - Alien Skin - Eye Candy 5 - Impact - Glass
Plugin - Brush Strokes - Sprayed Strokes
Plugin - VanDerLee - UnPlugged-X - Jalusi
Plugin - MuRa’s Filter Meister - perspective Tiling
******************************************************************
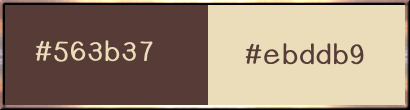
color palette
:
******************************************************************
methode
When using other tubes and colors, the mixing mode and / or layer coverage may differ
******************************************************************
General Preparations:
First install your filters for your PSP!
Masks: Save to your mask folder in PSP, unless noted otherwise
Texture & Pattern: Save to your Texture Folder in PSP
Selections: Save to your folder Selections in PSP
Open your tubes in PSP
******************************************************************
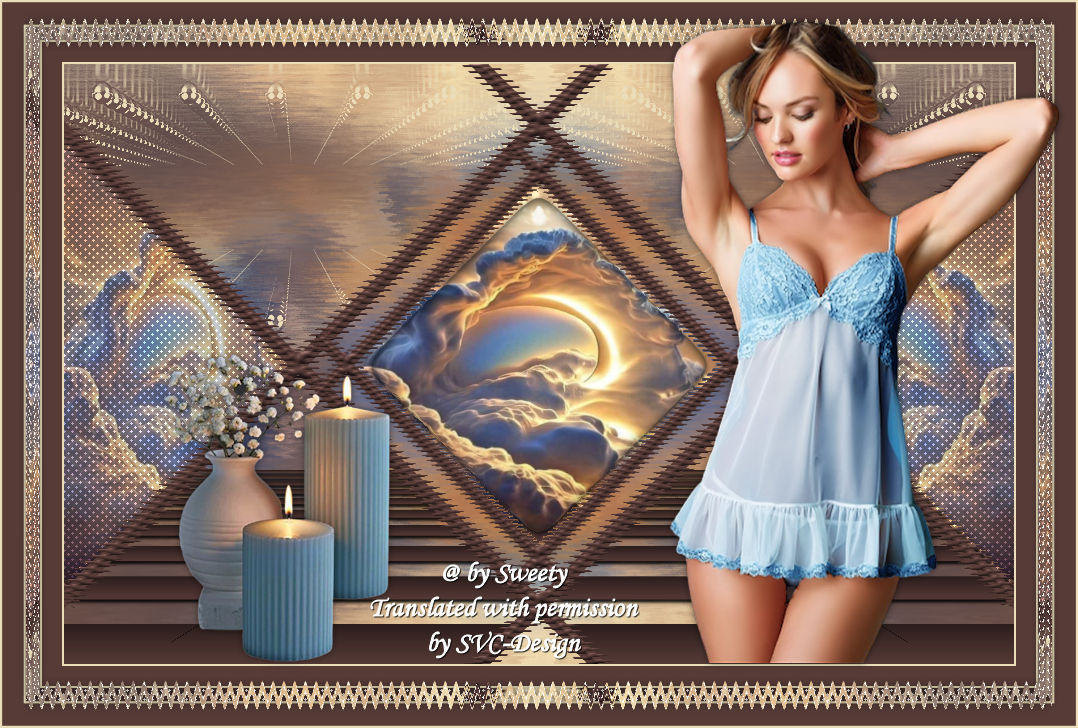
We will start - Have fun!
Remember to save your work on a regular basis
******************************************************************
1.
Open a new transparent image of 950x600 px
Selection - Select All
Open e9d34eabbaaaa6bc17871e723e0b3a13.jpg
Edit – Copy
Edit – Paste into the selection
Selection – Select None
Following your image do:
Effects – reflection effects – rotating mirror
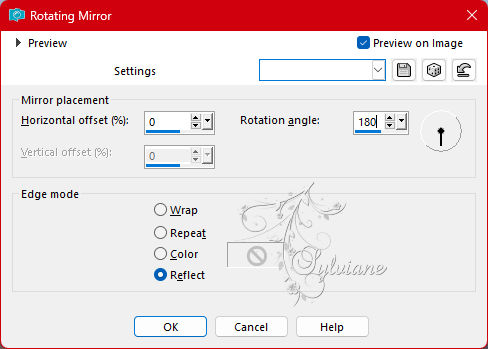
OR CHOICE ACCORDING TO YOUR IMAGE:
Effects - Image Effects - Seamless Repeats (this is what I did for my 2nd version)
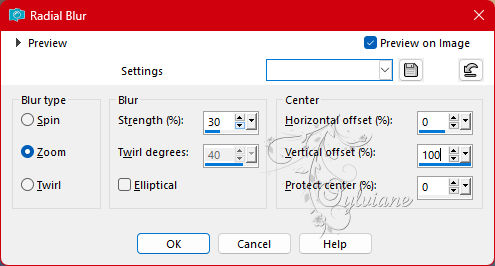
Adjust - blur - radial blur
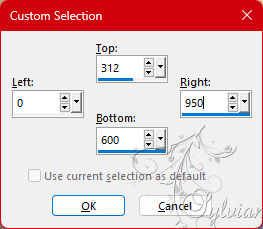
2.
Activate Selection - Custom selection
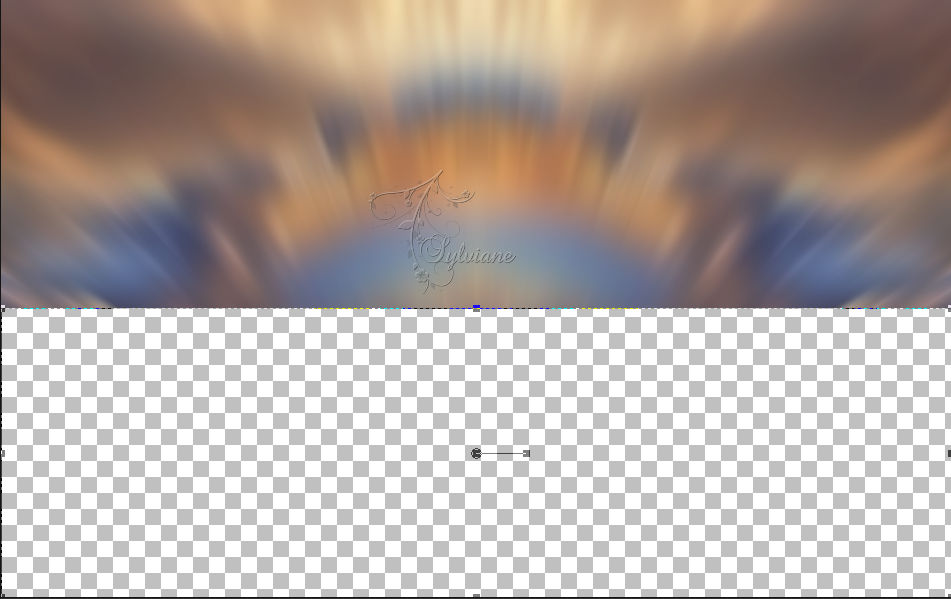
Erase or delete using the keyboard.
Selection – Select None
Layers - Duplicate
Image - Mirror - Vertical Mirror
Adjust as on my capture:
(I closed the eye of this layer in order to facilitate the task)
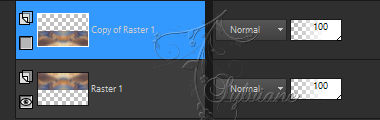
Open the eye of this layer again.
Layers – merge – merge down
3.
Layers - New Raster Layer
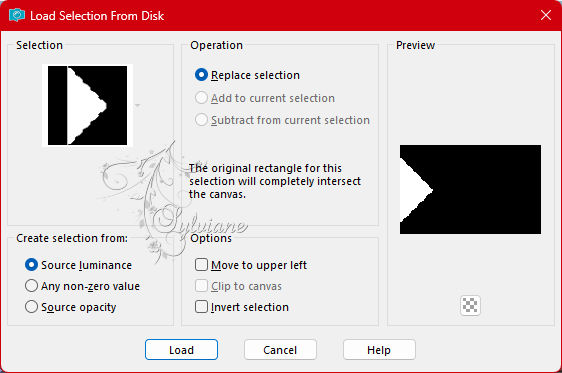
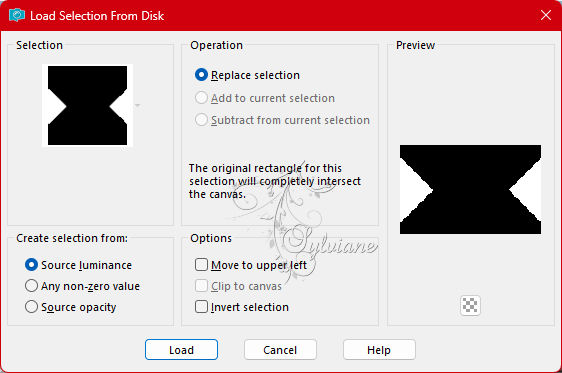
Selections - Load / Save - Load selection from disk - SELECTION 1 193 .PspSelection

Fill selection with AVP color
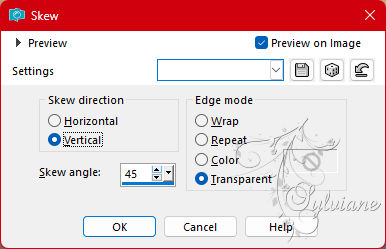
Selection – Select None
Effects - geometric effects – skew
Layers - Duplicate
Image - Mirror - Horizontal Mirror
Layers – merge – merge down
4.
Layers - Duplicate
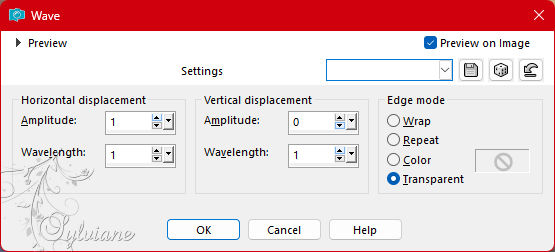
Effects - distortion effects - wave
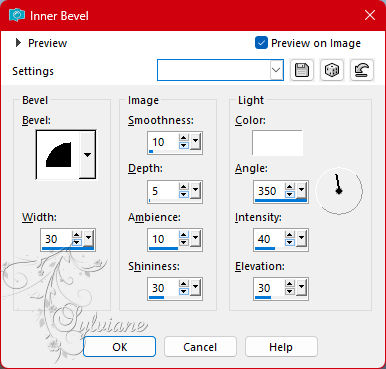
Effects – 3D effects – inner bevel
Open DECO PERSO 1 193 JANVIER 2023 SWEETY.png
Edit – Copy
Edit - Paste as new layer
Do not move it, it is in its place.
Image – Negative Image
I put on * Overlay *. It's up to you to see what you like
better
Layers – arrange – move down (2x)
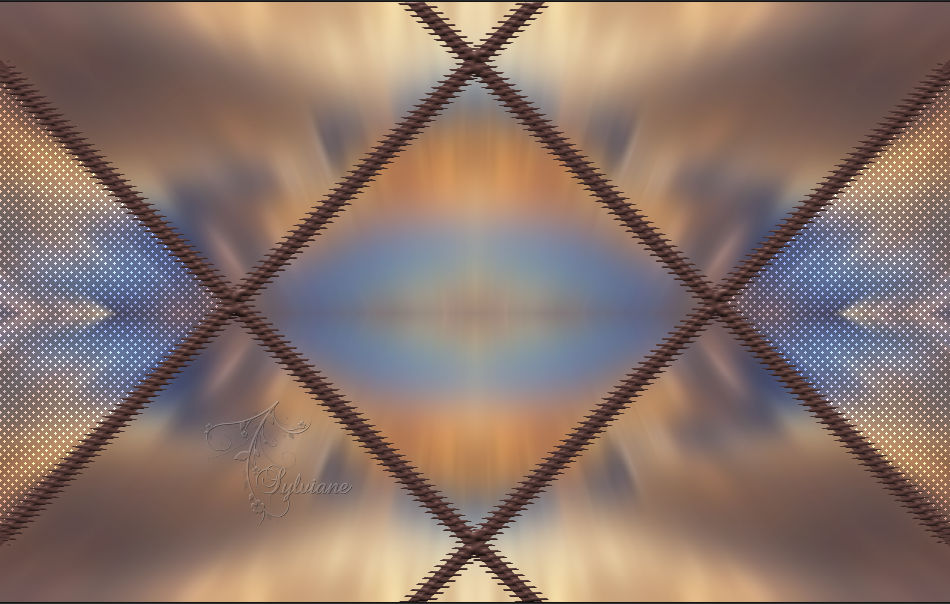
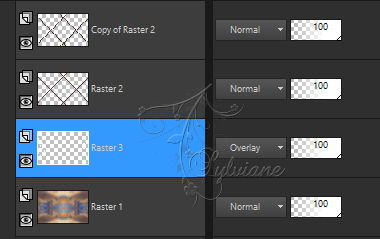
5.
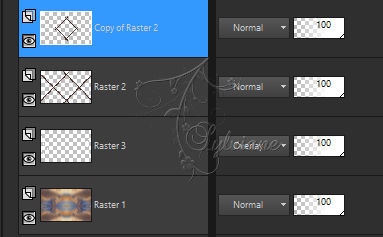
Our layers and tag (on *Raster 3*):
Activate Copy of Raster 2
Layers – merge – merge down
Layers - Duplicate
Image - Resize - 80%
Uncheck Resize all layers
Selections - Load / Save - Load selection from disk – SELECTION 2 193 .PspSelection
Erase or delete using the keyboard.
Selection – Select None
6.
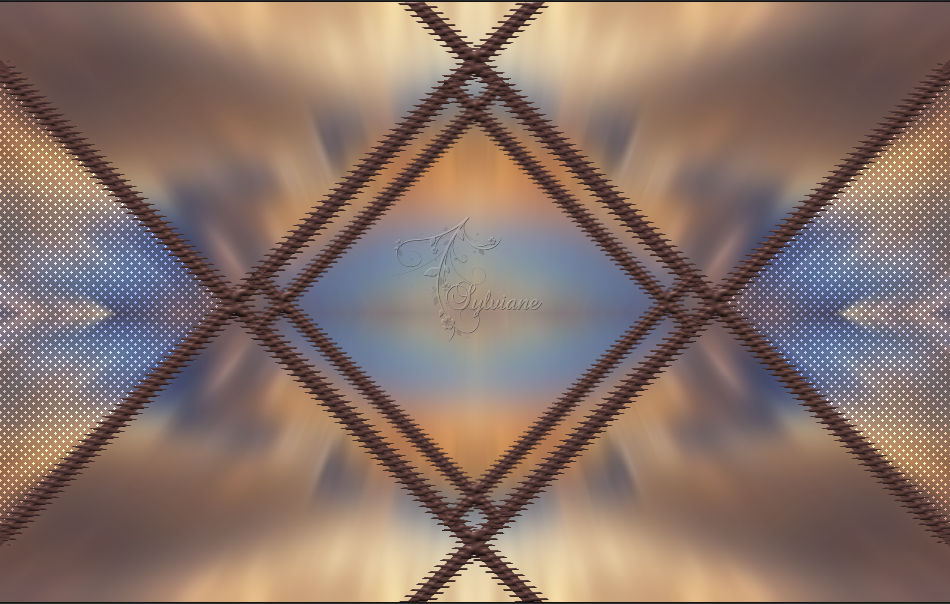
We get this set to *Copy of Raster 2*:
Layers – merge – merge down
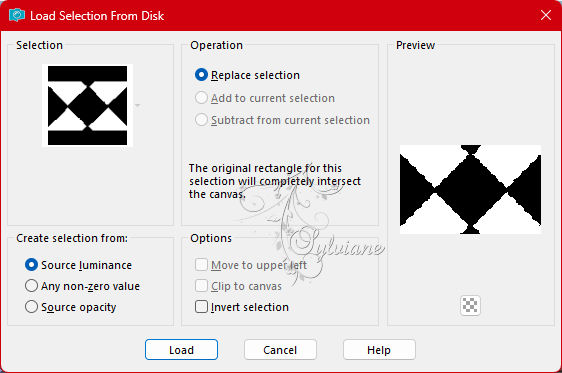
Selections - Load / Save - Load selection from disk – SELECTION 3 193 .PspSelection
Layers - New Raster Layer
Open e9d34eabbaaaa6bc17871e723e0b3a13.jpg
Edit – Copy
Edit – Paste into the selection
Plugin - Alien Skin - Eye Candy 5 - Impact - Glass
Layers – arrange – move down (2x)
(It must be of Raster 1)
Selection – Select None
7.
Layers - New Raster Layer
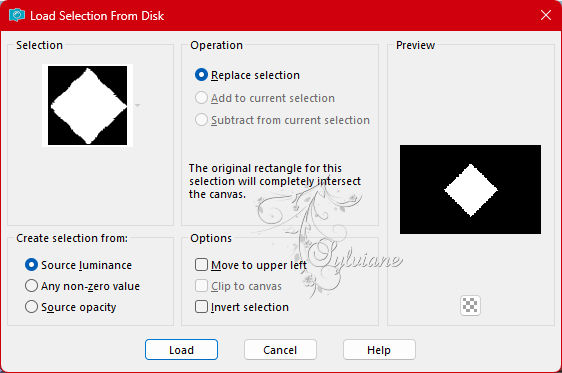
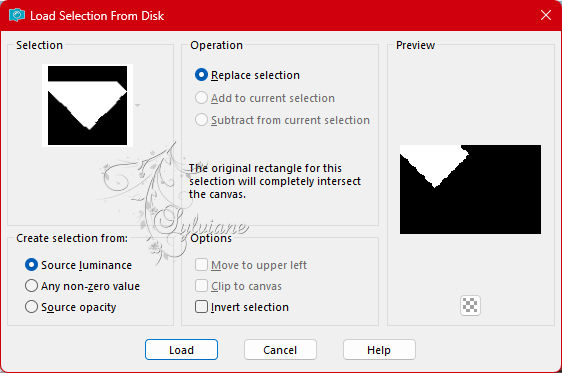
Selections - Load / Save - Load selection from disk – SELECTION 4 193 .PspSelection
pen e9d34eabbaaaa6bc17871e723e0b3a13.jpg
Edit – Copy
Edit – Paste into the selection
Selection – Select None
Effects – reflection effects – rotating mirror
Layer opacity at +/- 65% -
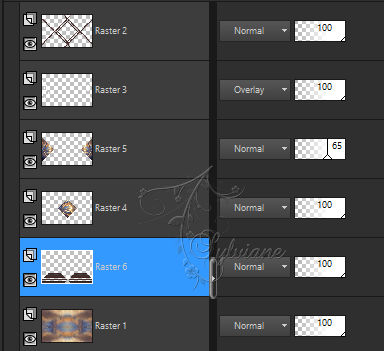
Before we go any further, have a look at our layers:
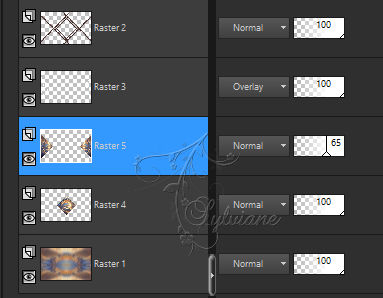
8.
We are on the middle layer (Raster 5)
Go to the layer at the very bottom of the stack (Raster 1)
Plugin - Brush Strokes - Sprayed Strokes

Layers - New Raster Layer
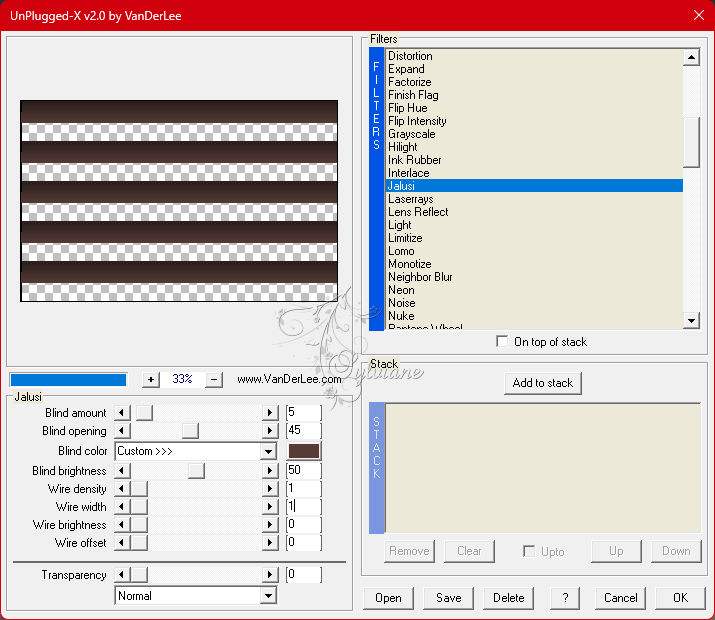
Plugin - VanDerLee - UnPlugged-X - Jalusi
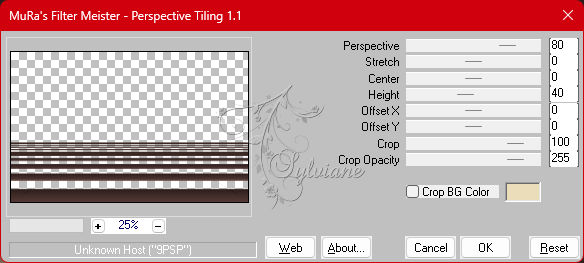
Plugin - MuRa’s Filter Meister - perspective Tiling
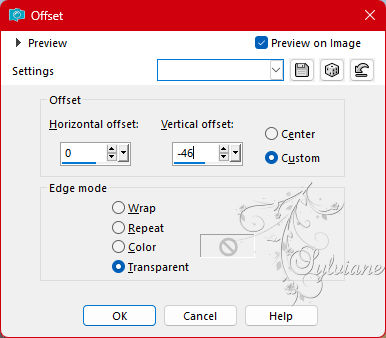
Effects - Image Effects - Offset: 0 / Green Offset: -46
9.
Still on this layer (the ground *Raster 6*)...
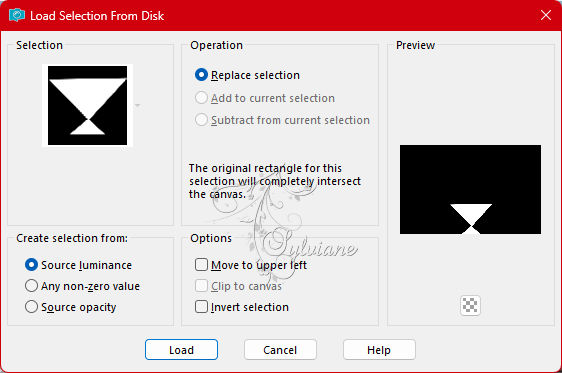
Selections - Load / Save - Load selection from disk – SELECTION 5 193 .PspSelection
Erase or delete using the keyboard
Selection – Select None
Selections - Load / Save - Load selection from disk – SELECTION 6 193 .PspSelection
Erase or delete using the keyboard
Selection – Select None
Drop shadow of your choice
10.
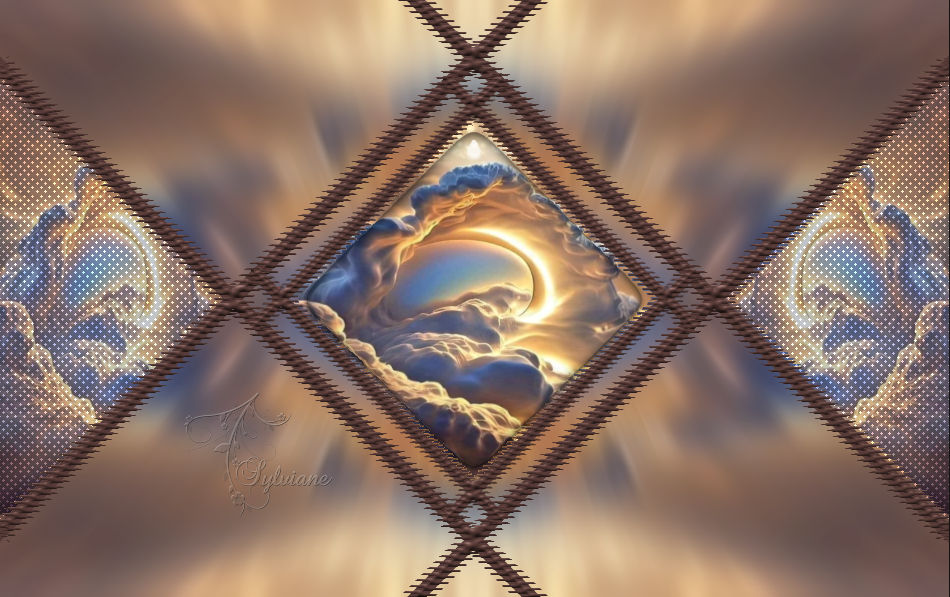
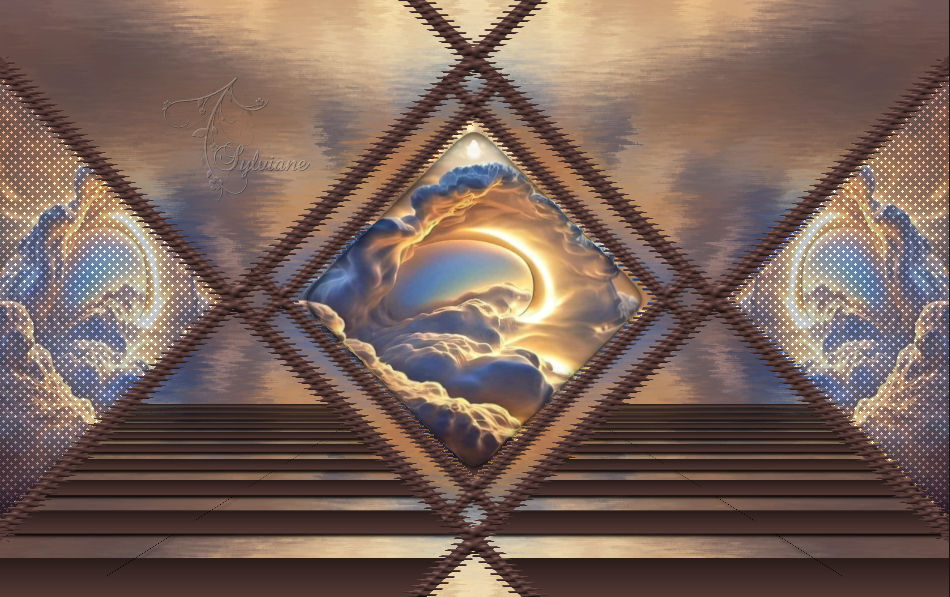
Our result:
Selections - Load / Save - Load selection from disk – SELECTION 7 193 .PspSelection
Layers - New Raster Layer
Fill selection with AVP or ARP at choice
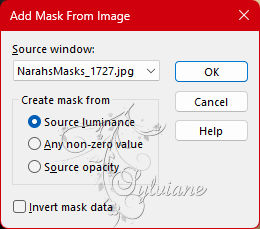
Open mask * NarahMask-1727. JPG * -
Layers – new mask layer - from image - NarahsMasks_1727.jpg
Effects - Edge Effects - Enhance
Layers - Merge - Merge Group
Selection – Select None
Image - Mirror - Horizontal Mirror
Layers - Duplicate
Layers – merge – merge down
Layers - Duplicate
Image - Mirror - Horizontal Mirror
Layers – merge – merge down
You can lower the opacity of this layer if you wish
11.
Image – Add Borders –symmetric 2 px - ARP color
Image – Add Borders –symmetric – 20px - color: AVP.
Image – Add Borders –symmetric 2 px - ARP color
Selection - Select All
Edit – Copy (Image goes to memory)
Image – Add Borders –symmetric 40 px - regardless of color
Selections - Invert
Edit - Paste as new layer (image is in memory)
Selection – Select None
12.
Selections - Load / Save - Load selection from disk – SELECTION 8 193 .PspSelection
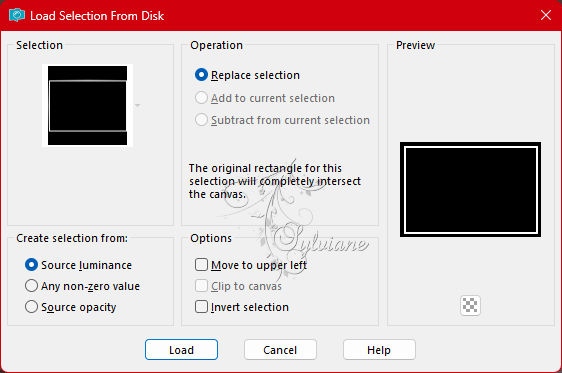
Layers - New Raster Layer
Open DECO PERSO 2 193 JANVIER 2023 SWEETY.png
Edit – Copy
Edit – Paste into the selection
Image – Negative Image
Layers – merge – merge down and Keep Selection Active
Image - Rotate Left
Effects - distortion effects – wave
Image - Rotate Right
In the layers palette... The selection is Floating...
Selections – Promote selections to layer
Selection – Select None
13.
Still on this layer (Transformed Selection)
Selections - Load / Save - Load selection from disk – SELECTION 9 193 .PspSelection
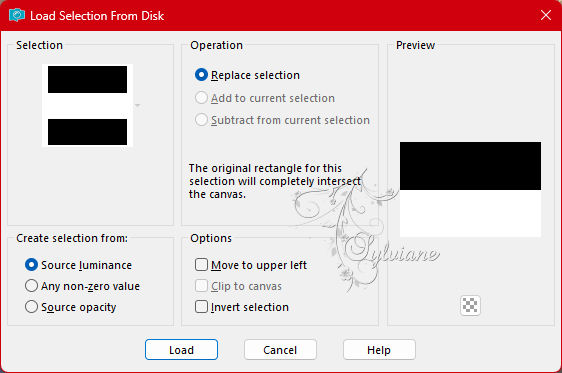
Erase or Delete keyboard
Selection – Select None
Layers - Duplicate
Image - Mirror - Vertical Mirror
Layers – merge – merge down
Effects - 3 D effects - Drop shadow
0 / 0 / 50 / 10 / Black
Layers – merge – merge down
14.
Selection - Select All
Selection - modify - contract – 65px
Selections - Invert
Selections – Promote selections to layer
Selection – Select None
Open MARS 2023 KATE 23 03 23 SWEETY.png
Edit – Copy
Edit - Paste as new layer
Image - Resize -73%.
Image - Mirror - Horizontal Mirror
Move to edge right
Apply a drop shadow of your choice
Open AVRIL 2022 BOUGIES FLEURS BIS 07 04 22 SWEETY.png
Edit – Copy
Edit - Paste as new layer
Image - Resize - 60%.
Apply a drop shadow a choice
15.
Put your watermark on it.
Layers - Merge - Merge all layers
Image - Resize : 950 px, width, resize all layers checked.
Save as JPEG
Back
Copyright Translation 2023 by SvC-Design